
How to run MicroPython on a Raspberry Pi Pico with minimal setup

Here is a step-by-step guide for how to get started with interactive programming in Python on the Raspberry Pi Pico.
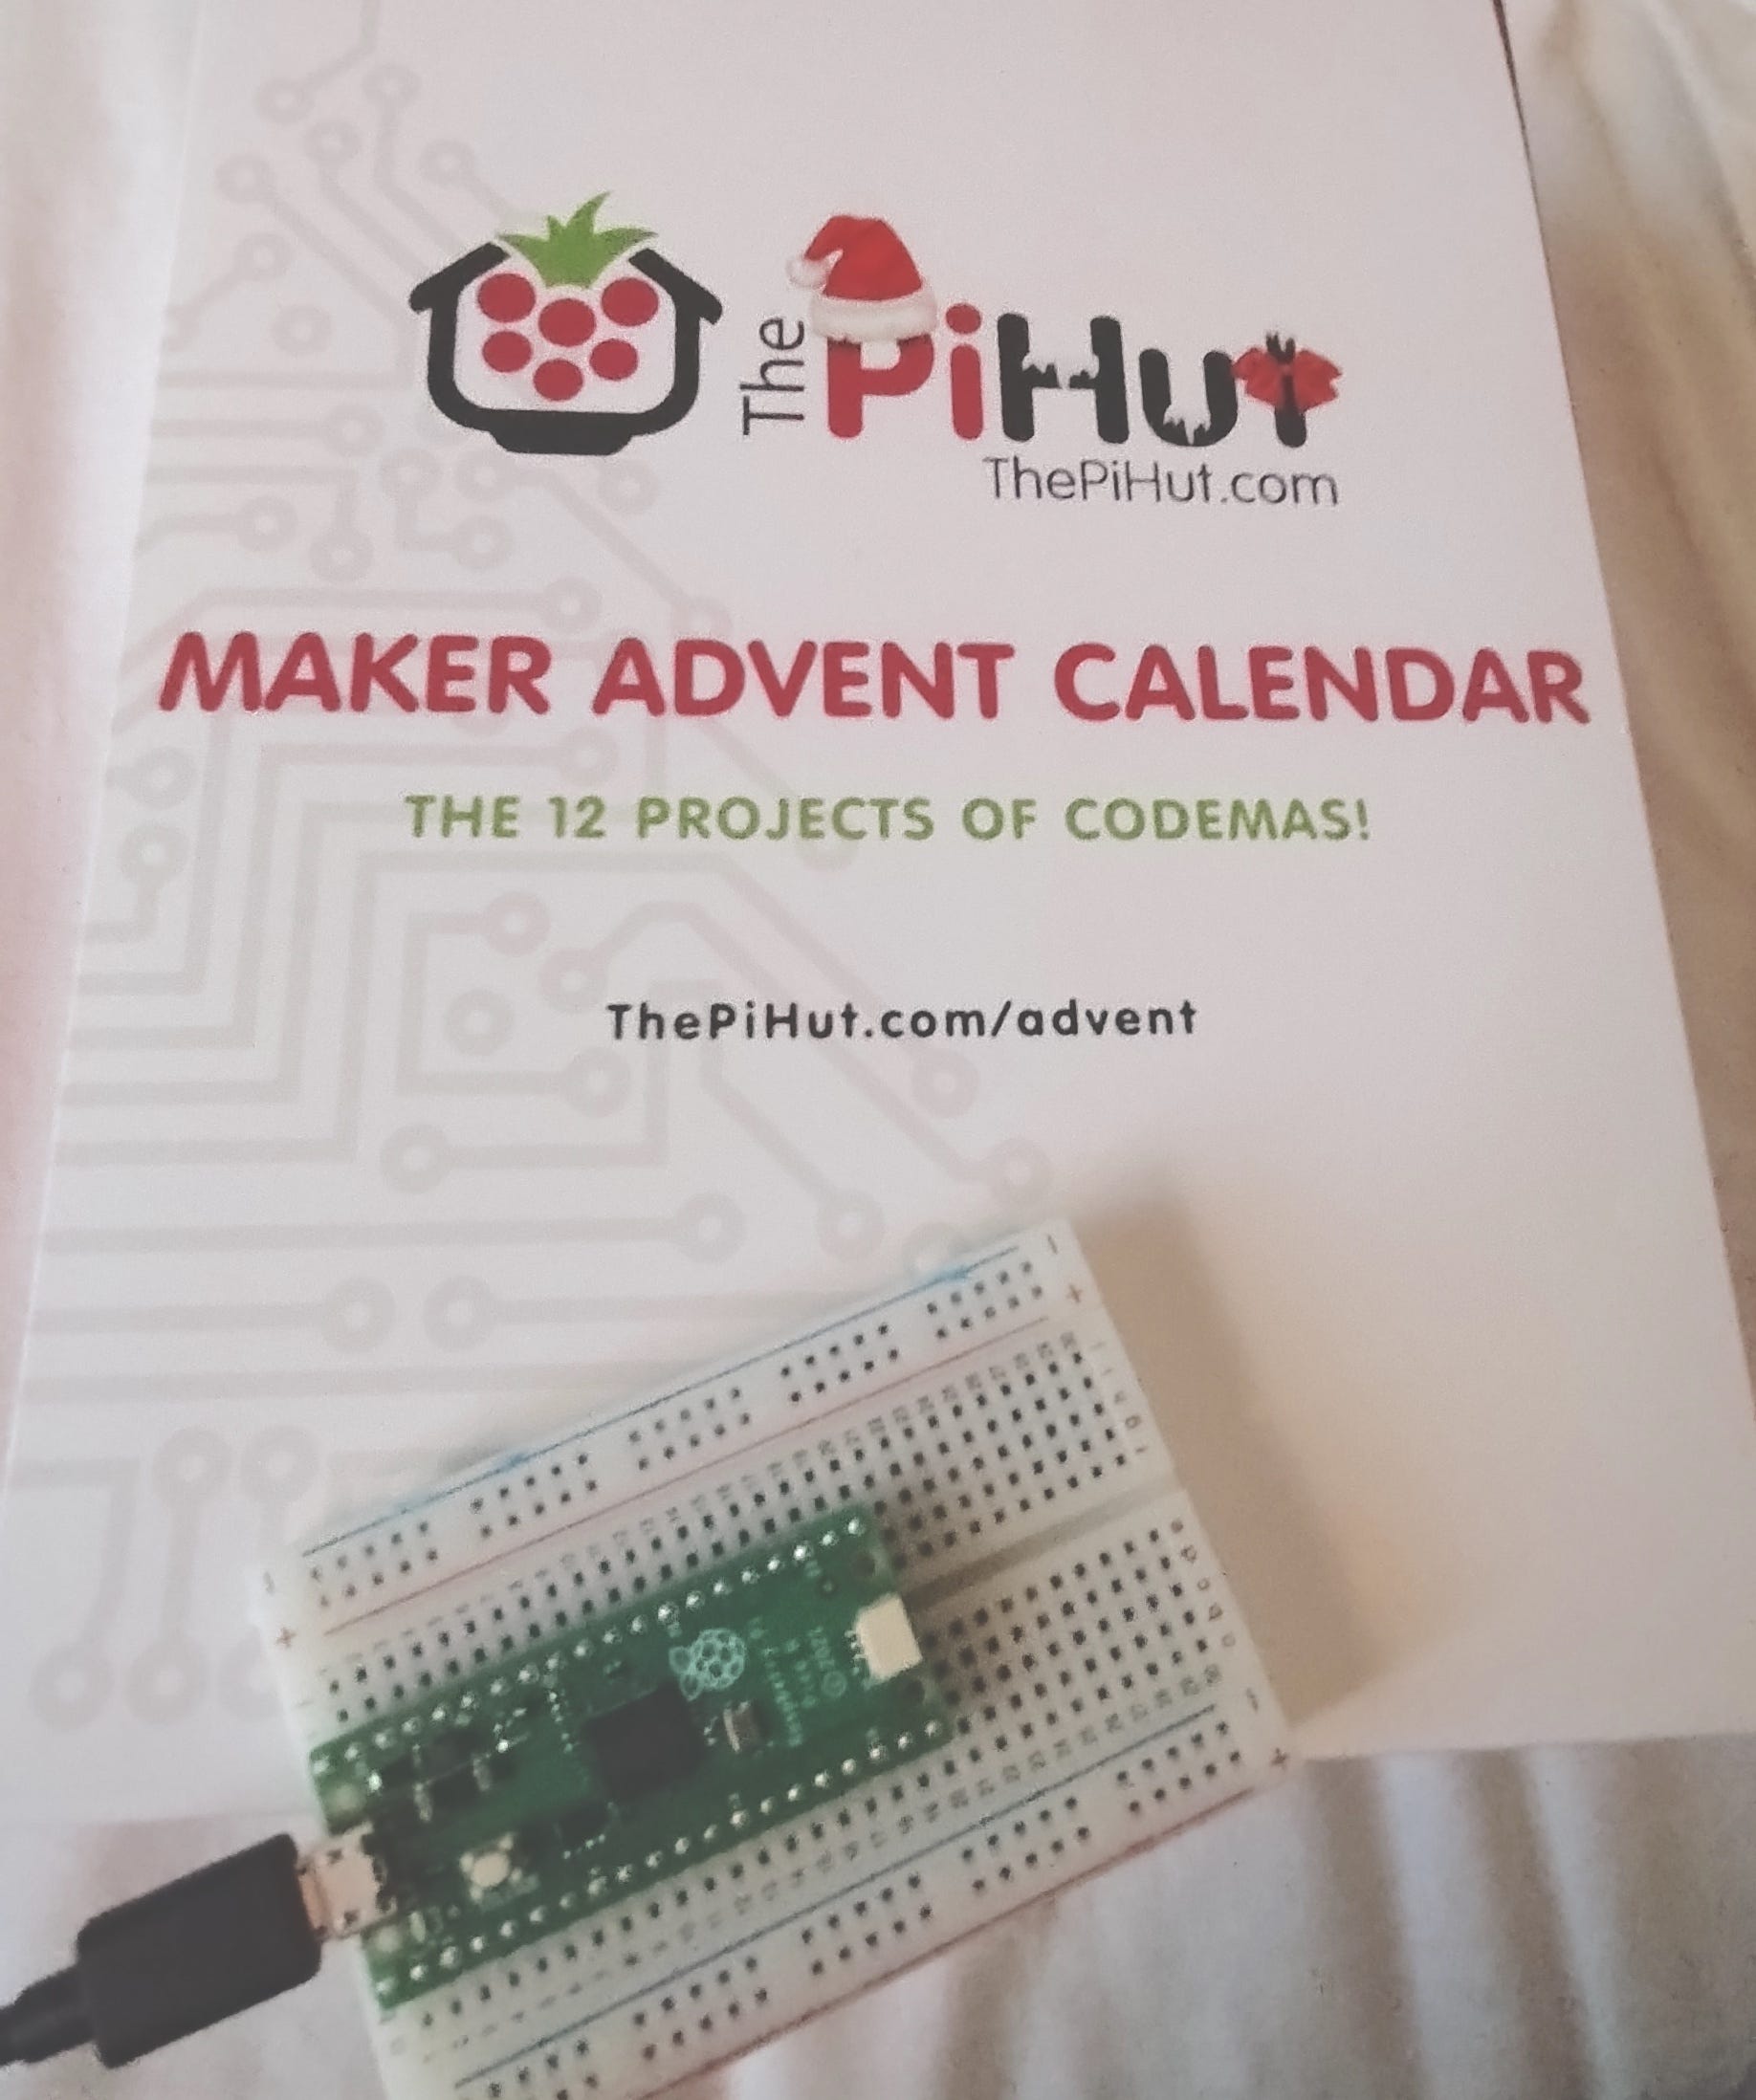
The background is that I got a Maker Advent Calendar that included a Raspberry Pi Pico, and I wanted to run MicroPython on it with a minimal setup, without having to install a Python IDE.
The solution proved to be straightforward – you just install the MicroPython interpreter on the Pico and use a serial terminal to interact with it.
1. Install MicroPython on the Raspberry Pico
The first step is to connect the Pico to your computer in a way that enables it to be used as a USB drive:
Get the USB cable and connect it to the Pico.
Press the small "BOOTSEL" button on the Pico and hold it while inserting the other end of the USB cable into your computer, and then release the button.
The Pico can now be used as a USB drive from on your computer.
Download the MicroPython firmware file at this address: https://micropython.org/download/rp2-pico/rp2-pico-latest.uf2
Copy the downloaded file to the Pico using drag and drop.
When the file firmware file has been copied to the Pico, it will reboot automatically and run the MicroPython interpreter, which can be interacted with over the USB serial port.
2. Interact with the MicroPython interpreter
The second step involves the use of a serial terminal to communicate with the Pico and interact with the Python interpreter. On Linux and macOS you can use the "screen" utility (on Windows you can use PuTTY).
The following example shows how to use screen on Linux/macOS.
2.1. Find the name of the Pico USB serial port
Open a terminal window on your computer.
List available TTY ports using this command (MacOS and Linux):
ls /dev/tty*The port of the Pico will probably be named something like:
/dev/tty.usbmodem142301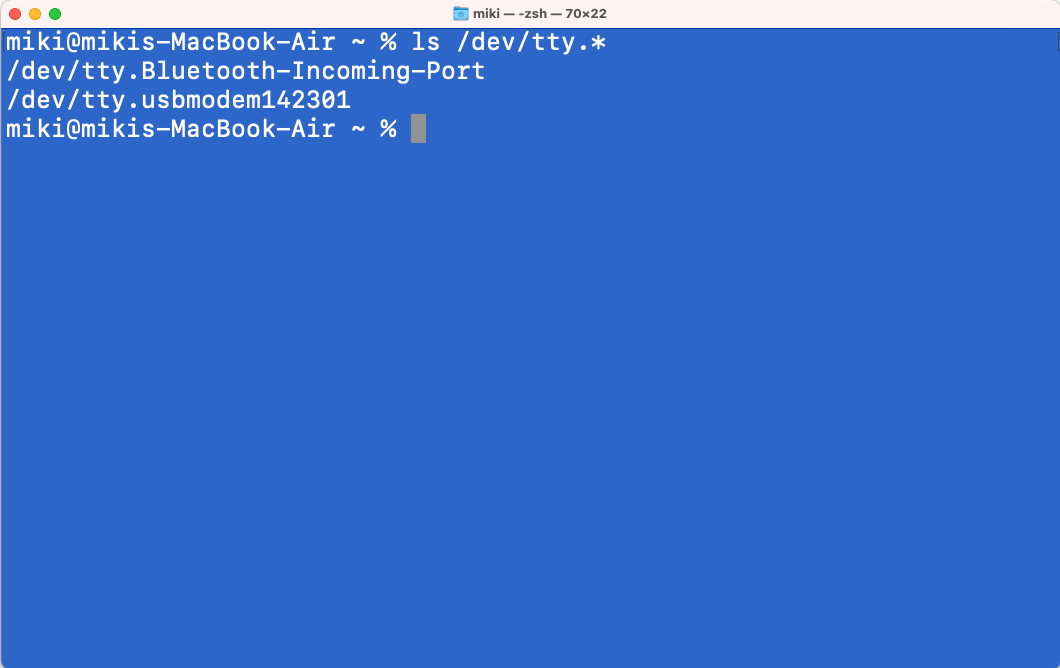
2.2. Connect using screen
Use screen to connect to the Pico:
screen /dev/tty.usbmodem142301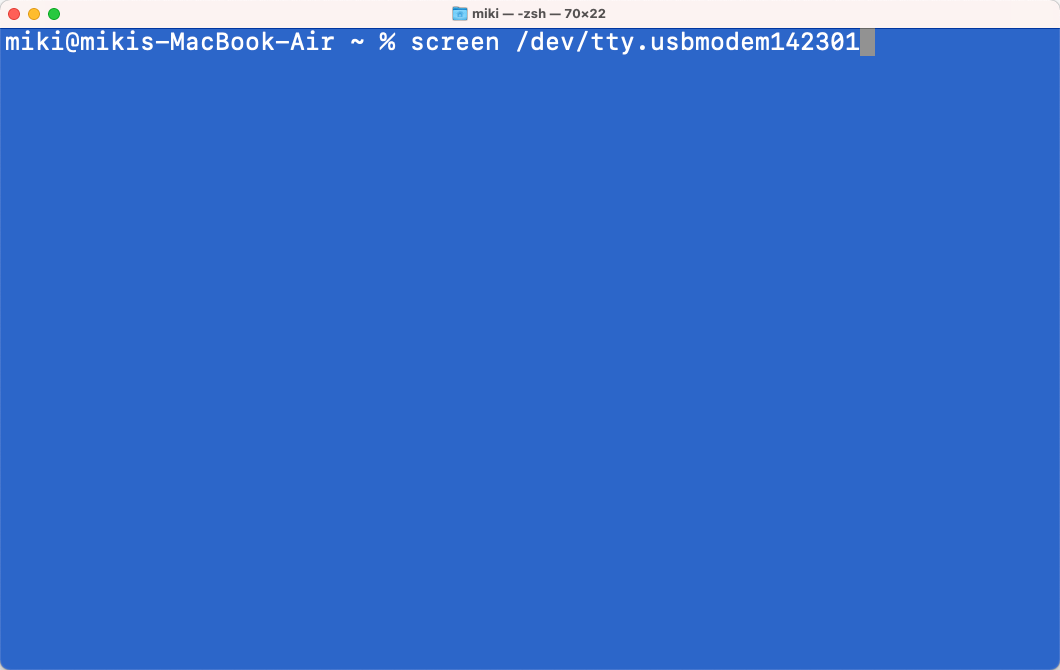
We are now connected to Python REPL (Read Eval Print Loop).
2.3. Run Python code
The REPL enables you to type and evaluate any MicroPython code.
For example, try typing the following and press RETURN:
1 + 2The result is displayed in the terminal.
2.4. Turn on the onboard LED
To turn on the onboard LED of the Pico, type this code (press RETURN after each line):
from machine import Pin
led = Pin(25, Pin.OUT)
led.value(1)
To turn the LED off, type:
led.value(0)
We are now up and running with coding the Pico in Python - minimal setup required.
2.5. Quit screen
To end the screen terminal session, type:
CTRL-A k yThat is, press CTRL-A on the keyboard, release and then press the K key, and confirm by pressing the Y key.
3. Write Python programs on the Pico
To develop programs on the Pico, write the code in a text editor on your computer and then copy and paste the code into the Python REPL. There are other ways as well, but this is a handy way to experiment and do interactive coding.
In the following example we will write a program that repeatedly blinks the onboard LED. For this, we will use a timer.
3.1. The code
Here is the code:
from machine import Pin, Timer
led = Pin(25, Pin.OUT)

def tick(timer):
  global led
  led.toggle()

timer = Timer()
timer.init(period=2000, mode=Timer.PERIODIC, callback=tick)
This program will switch the onboard LED on and off every 2000 milliseconds. Note that toggle is a predefined method on the led object.
Select the code, paste it into the Python REPL, and press RETURN - this will run the program.
It is now possible to do interactive coding.
To change the blink interval, paste this line and press RETURN:
timer.init(period=1000, mode=Timer.PERIODIC, callback=tick)To stop the timer, use:
timer.deinit()This interactive approach to coding enables you to tinker with the program and see the result instantly.
3.2. Use Paste mode
Since the Python syntax is based on indentation, it can happen that the REPL gets the indentation wrong when you paste code. This problem is caused by the auto-indent feature.
The above program should work to paste in standard REPL mode, but you are advised to use Paste mode instead.
Paste mode turns off the auto-indent feature. To use paste mode, do as follows:
Press CTRL-E to enter paste mode
Paste your code
Press CTRL-D to exit paste mode
4. Good to know
4.1. Soft reset
If your program hangs, you can soft-reset the board typ typing CTRL-D
4.2. Help
To get a help text, type:
help()4.3. Quit screen
To end the screen terminal session, type:
CTRL-A k y5. Pico boot modes
The Raspberry Pi Pico has two boot modes:
5.1. USB drive mode ("bootloader mode")
Pressing the "BOOTSEL" button while inserting the USB cable into the computer boots the device in USB drive mode (also called "bootloader mode").
In this mode you can copy firmware files to the device. These files have extension .uf2
The Pico will automatically reboot in Firmware mode as soon as the UF2 file has been copied.
The MicroPython firmware file is an example of a UF2 file.
5.2. Firmware mode (run installed firmware)
Connecting the USB cable without pressing "BOOTSEL" boots the firmware installed on the device.
If the MicroPython firmware is installed, the interpreter starts and can be interacted with over the serial USB port.
6. Links
https://docs.micropython.org/en/latest/library/machine.Timer.html
https://docs.micropython.org/en/latest/reference/repl.html
https://mikeesto.medium.com/uploading-to-the-raspberry-pi-pico-without-thonny-53de1a10da30
https://bigl.es/tuesday-tooling-pico-mix/
This is so nice Mikael. As a bonus I now understand the boot modes :-)